
Gel manicures are a favorite for their shine and durability, but what goes on must come off eventually. Removing gel polish properly is essential for maintaining healthy, strong nails. That’s where acetone to remove gel nails comes in. Acetone is a powerful solvent that, when used correctly, can break down even the most resilient gel systems without damaging your natural nail plate.
Understanding why removal methods matter is crucial. Many gel systems are designed to last for weeks, and different formulations (soak-off, hard gel, builder gel) respond differently to removal. Improper techniques like peeling, chipping, or excessive filing can cause severe nail damage. According to dermatological studies, repeated mechanical trauma from improper gel removal can lead to onycholysis, thinning, and even nail infections.
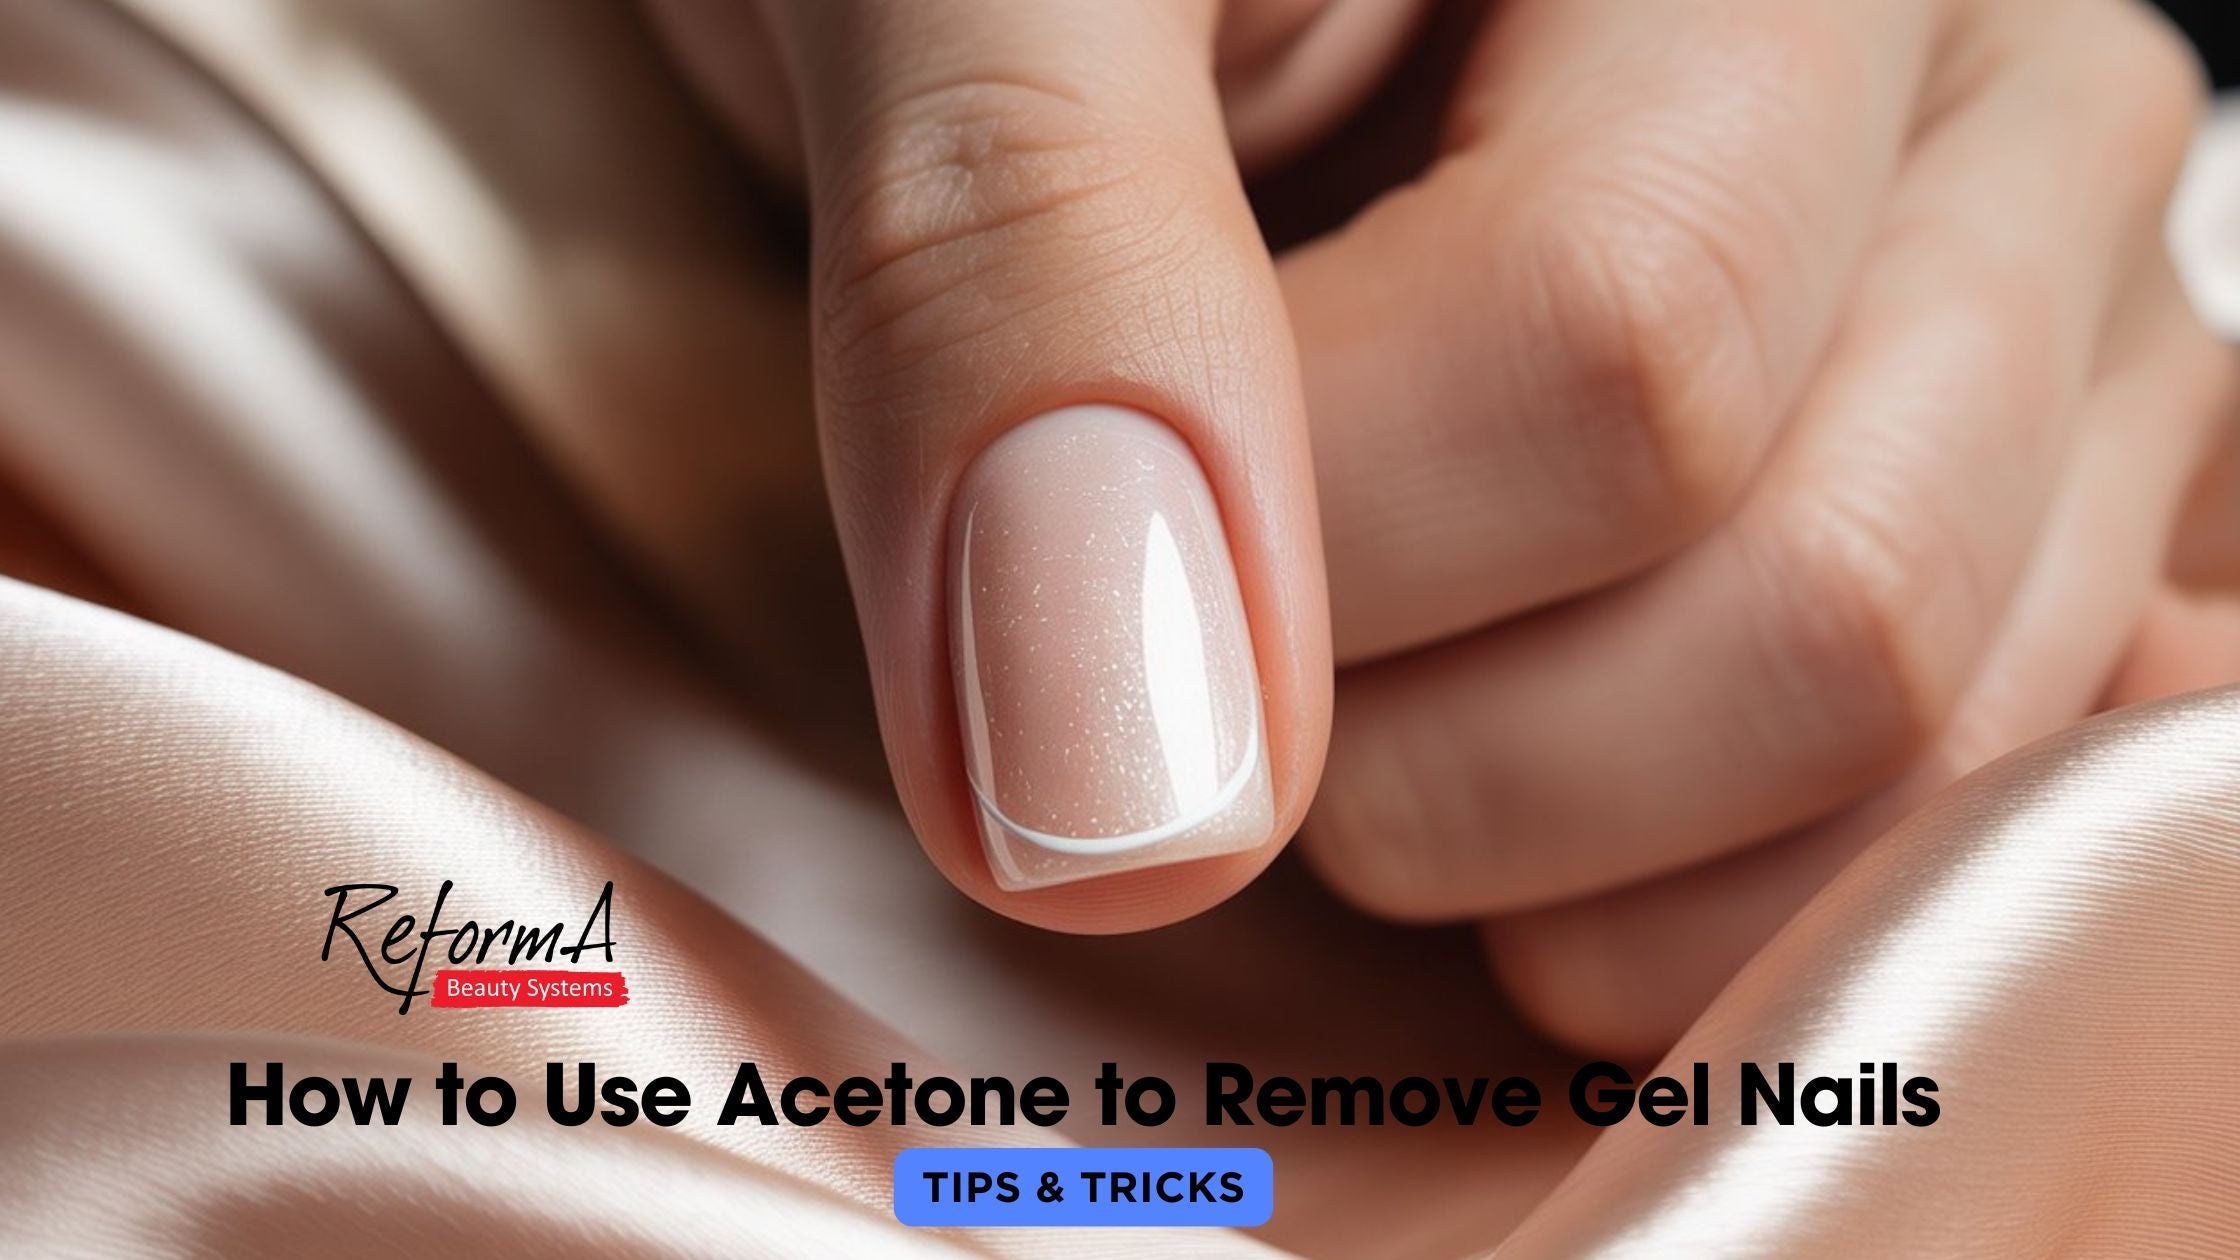
At ReformA, we believe in beauty without compromise. Every removal step should prioritize nail health, hydration, and care. Let's walk you through how to use acetone to remove gel nails safely, step by step.
Understanding Gel Polish Structure and Why Acetone Works
Gel polishes contain methacrylates and oligomers that harden under UV or LED light through a chemical process known as polymerization. This forms a dense, interlinked polymer network that resists wear and tear.
This resilience is what makes gels long-lasting, but it also makes them hard to remove. Acetone works because it can penetrate this polymer structure and break down the bonds from within. Unlike water or alcohol-based solvents, acetone to remove gel nails dissolves the adhesive components efficiently.
Different gel types, like traditional hard gels or builder gels, may resist soaking. Soak-off gels, by contrast, are formulated specifically for easier removal using how to remove gel nails with acetone techniques. The more you know about your gel system, the better your removal process will be.
Essential Supplies for Acetone Gel Nail Removal
To do it right, you need the right tools. Here's what you'll need:
-
Professional-grade acetone (99% purity) – Higher purity ensures faster and more effective breakdown.
-
Cotton pads or balls – For soaking and wrapping.
-
Aluminum foil – Helps trap heat and acetone vapor.
-
Nail file and buffer – For surface prep.
-
Orangewood sticks – For gently lifting softened gel.
-
Hand cream and cuticle oil – To hydrate post-removal.
At ReformA, we recommend pairing our Professional Soak-Off Acetone with HydraCuticle Oil and Nail Rescue Cream for best results.
Creating the Perfect Removal Environment
Your setup matters more than you think. Poor ventilation can intensify acetone fumes, so always work in a well-ventilated space. Use a table mat or tray to protect your surface, and aim for a room temperature of around 22–24°C. Warmer environments help acetone perform better.
A stable, organized workspace prevents spills and helps you stay consistent throughout the process. With the right setup, you’ll get the most from your how to use acetone to remove gel nails routine.
The Professional Acetone Removal Process
Step 1: Prepping the Nail
Start by gently filing the top coat of your gel to remove the shiny, impermeable surface. This step is crucial because it allows acetone to penetrate the layers beneath. Don’t over-buff—just enough to break the seal.
Step 2: Saturate Cotton Pads
Soak cotton pads thoroughly with acetone. Place one over each nail, then wrap with aluminum foil to lock in the moisture and heat.
Step 3: Let It Soak
Now, wait. Knowing how long to remove gel nails with acetone depends on the gel type. For most soak-off gels, 10–15 minutes is sufficient. Hard gels may need 20–30 minutes. Patience is key here—don’t rush it.
The File and Soak Technique
For thicker gels or builder gels, lightly filing off the top 30–40% of the polish before soaking can speed up removal. Avoid reaching the natural nail, and never force the polish off. Combining gentle filing with acetone to remove gel nails gives the fastest results without trauma.
How Long to Remove Gel Nails with Acetone
As mentioned, different gels respond differently to acetone:
-
Soak-off gels: 10–15 minutes
-
Builder or hard gels: 20–30 minutes
-
Hybrid gels: 15–20 minutes
You'll know it’s time to remove when the gel starts lifting at the edges and feels soft to the touch. Avoid scraping or forcing stubborn areas—just rewrap and soak for a few more minutes. Understanding how long to remove gel nails with acetone prevents unnecessary damage.
Timing Variables That Affect Removal Speed
Several factors can influence soak time:
-
Gel formula – Some are more resistant.
-
Number of layers – Thicker applications take longer.
-
Manicure age – Older gels may be drier and harder.
-
Nail porosity – Natural nail texture affects how easily acetone penetrates.
Safe Removal Techniques After Soaking
After soaking, gently push the gel off using an orangewood stick. Move in the direction of nail growth, not back and forth, to avoid lifting the nail plate. If resistance occurs, re-soak—never force it. Once most gel is removed, buff away the residue and cleanse with alcohol or acetone.
Post-Removal Nail Care Essentials
After using acetone to remove gel nails, it's essential to give your nails the care they need to recover. Acetone, while effective, is a strong solvent that strips the nails and surrounding skin of their natural oils, leaving them dry and sometimes fragile. The first step in post-removal care should be neutralizing any residual acetone on the nail plate. This can be done by rinsing your hands in lukewarm water or using a gentle cleanser to remove lingering traces of the solvent.
Once the nails are clean, focus on replenishing lost moisture. A generous application of cuticle oil should be your go-to. Look for oils enriched with vitamin E, jojoba, or almond oil, which penetrate deeply and support the regeneration of both the nail and cuticle. Follow up with a rich hand cream—preferably one that contains urea or glycerin—to lock in hydration and create a protective barrier on the skin. If your nails feel weak, bendy, or prone to splitting after removal, applying a strengthening treatment can help rebuild their natural structure. Look for fortifying formulas with keratin, calcium, or biotin to support nail resilience.
Recognizing and Addressing Acetone-Related Issues
Even with proper technique, some users may experience side effects after using acetone to remove gel nails, especially if removals are done frequently. One of the most common concerns is dryness. This often presents as flaky cuticles, brittle nail edges, or a tight sensation around the fingertips. In these cases, cuticle oil should be applied multiple times a day—ideally 2 to 3 times—to deeply moisturize and encourage recovery.
Another frequent issue is nail sensitivity. If your nails feel sore, tender, or overly soft after removal, it’s important to let them rest. Avoid applying polish, gel, or traditional for at least a week, and focus on gentle care during this time. In some instances, you might also notice small white patches on the nail plate. These are usually signs of dehydration or minor keratin disruption. Treat them with keratin-infused treatments or nail masks specifically designed to restore protein structure.
Full recovery after acetone exposure typically takes about 5 to 10 days, though this can vary depending on the condition of your nails and how frequently you wear gels. A consistent aftercare routine makes a significant difference, not just in recovery time but in the long-term health and appearance of your natural nails.
How to Remove Gel Nails Without Acetone
Not a fan of acetone? You’re not alone. Knowing how to remove gel nails without acetone gives you more options.
Alternatives:
-
Professional gel removers (propylene carbonate-based)
-
Soak-off steamers
-
Gentle electric filing (by professionals only)
Pros: Gentler, less drying
Cons: Slower, more expensive, less effective on certain gels
When deciding between acetone to remove gel nails or non-acetone options, consider your gel type, skin sensitivity, and time constraints.
Professional Non-Acetone Removers
Specialty removers work by softening the polymer bonds rather than dissolving them. They're usually enriched with oils and moisturizers. While gentler, they often require longer soak times—20–30 minutes—and cost more. However, for sensitive clients, they're worth the investment.
Common Mistakes When Using Acetone for Gel Removal
Using acetone to remove gel nails can be incredibly effective, but only when done correctly. Many people make small but significant mistakes that can lead to unnecessary nail damage, often undoing the benefits of a proper removal process.
One frequent error is over-buffing the surface of the gel before soaking. While it’s important to break the top coat seal to allow the acetone to penetrate, excessive filing can thin the natural nail and leave it weak or brittle. A light buff to remove the shine is enough—there’s no need to grind down into the product layers.
Another common issue is impatience during soaking. Removing the wraps too early, before the gel has fully softened, often leads to frustration and the temptation to scrape the gel off forcefully. This is especially damaging and can cause peeling or trauma to the nail plate. Letting the acetone work for the full recommended time is crucial.
Loose or improperly wrapped foil is another culprit behind failed removals. If the acetone evaporates too quickly, it won’t have time to dissolve the gel effectively. Ensure the wraps are secure and in full contact with the nail for consistent results.
Finally, many people skip the all-important hydration step once the gel is off. Acetone dries out both nails and surrounding skin, so rehydrating immediately after removal is essential for restoring balance and maintaining nail health. Avoiding these common mistakes will help you achieve a clean, safe removal every time.
Salon vs. At-Home Acetone Removal
Although removing gel nails at home with acetone to remove gel nails is convenient and cost-effective, professional salons still offer key advantages that can’t be overlooked. For one, salons are equipped with tools that optimize the process, like heated wraps and specialized steamers, which speed up acetone activation and improve comfort during removal.
More importantly, trained nail technicians have the expertise to assess your nail condition and tailor the removal method accordingly. This personalized approach significantly reduces the risk of damage, especially if you’ve had multiple gel applications or are dealing with sensitive or compromised nails.
Efficiency is another major benefit of salon visits. Technicians use refined techniques and high-quality products to ensure that the process is both fast and safe, minimizing exposure time and preventing overuse of acetone.
If you're unsure how to use acetone to remove gel nails safely, or if your nails show signs of stress or damage, booking a professional removal is often the smarter choice. However, with the right tools, knowledge, and patience, at-home users can still achieve salon-level results—just be prepared to follow the process closely and care for your nails afterward.
ReformA's Professional Tips for Healthier Nails Post-Removal
-
Wait 3–5 days before reapplying gel.
-
Treat nails with fortifying serums in between.
-
Keep a consistent routine with hydration, protection, and rest periods.
With the right knowledge and tools, using acetone to remove gel nails doesn’t have to be intimidating or damaging. Follow each step mindfully, listen to your nails, and you’ll enjoy beautiful results—no compromise necessary.
If you’re ready to elevate your gel nail care routine, explore ReformA’s curated removal and recovery solutions designed for nail professionals and enthusiasts alike.

