
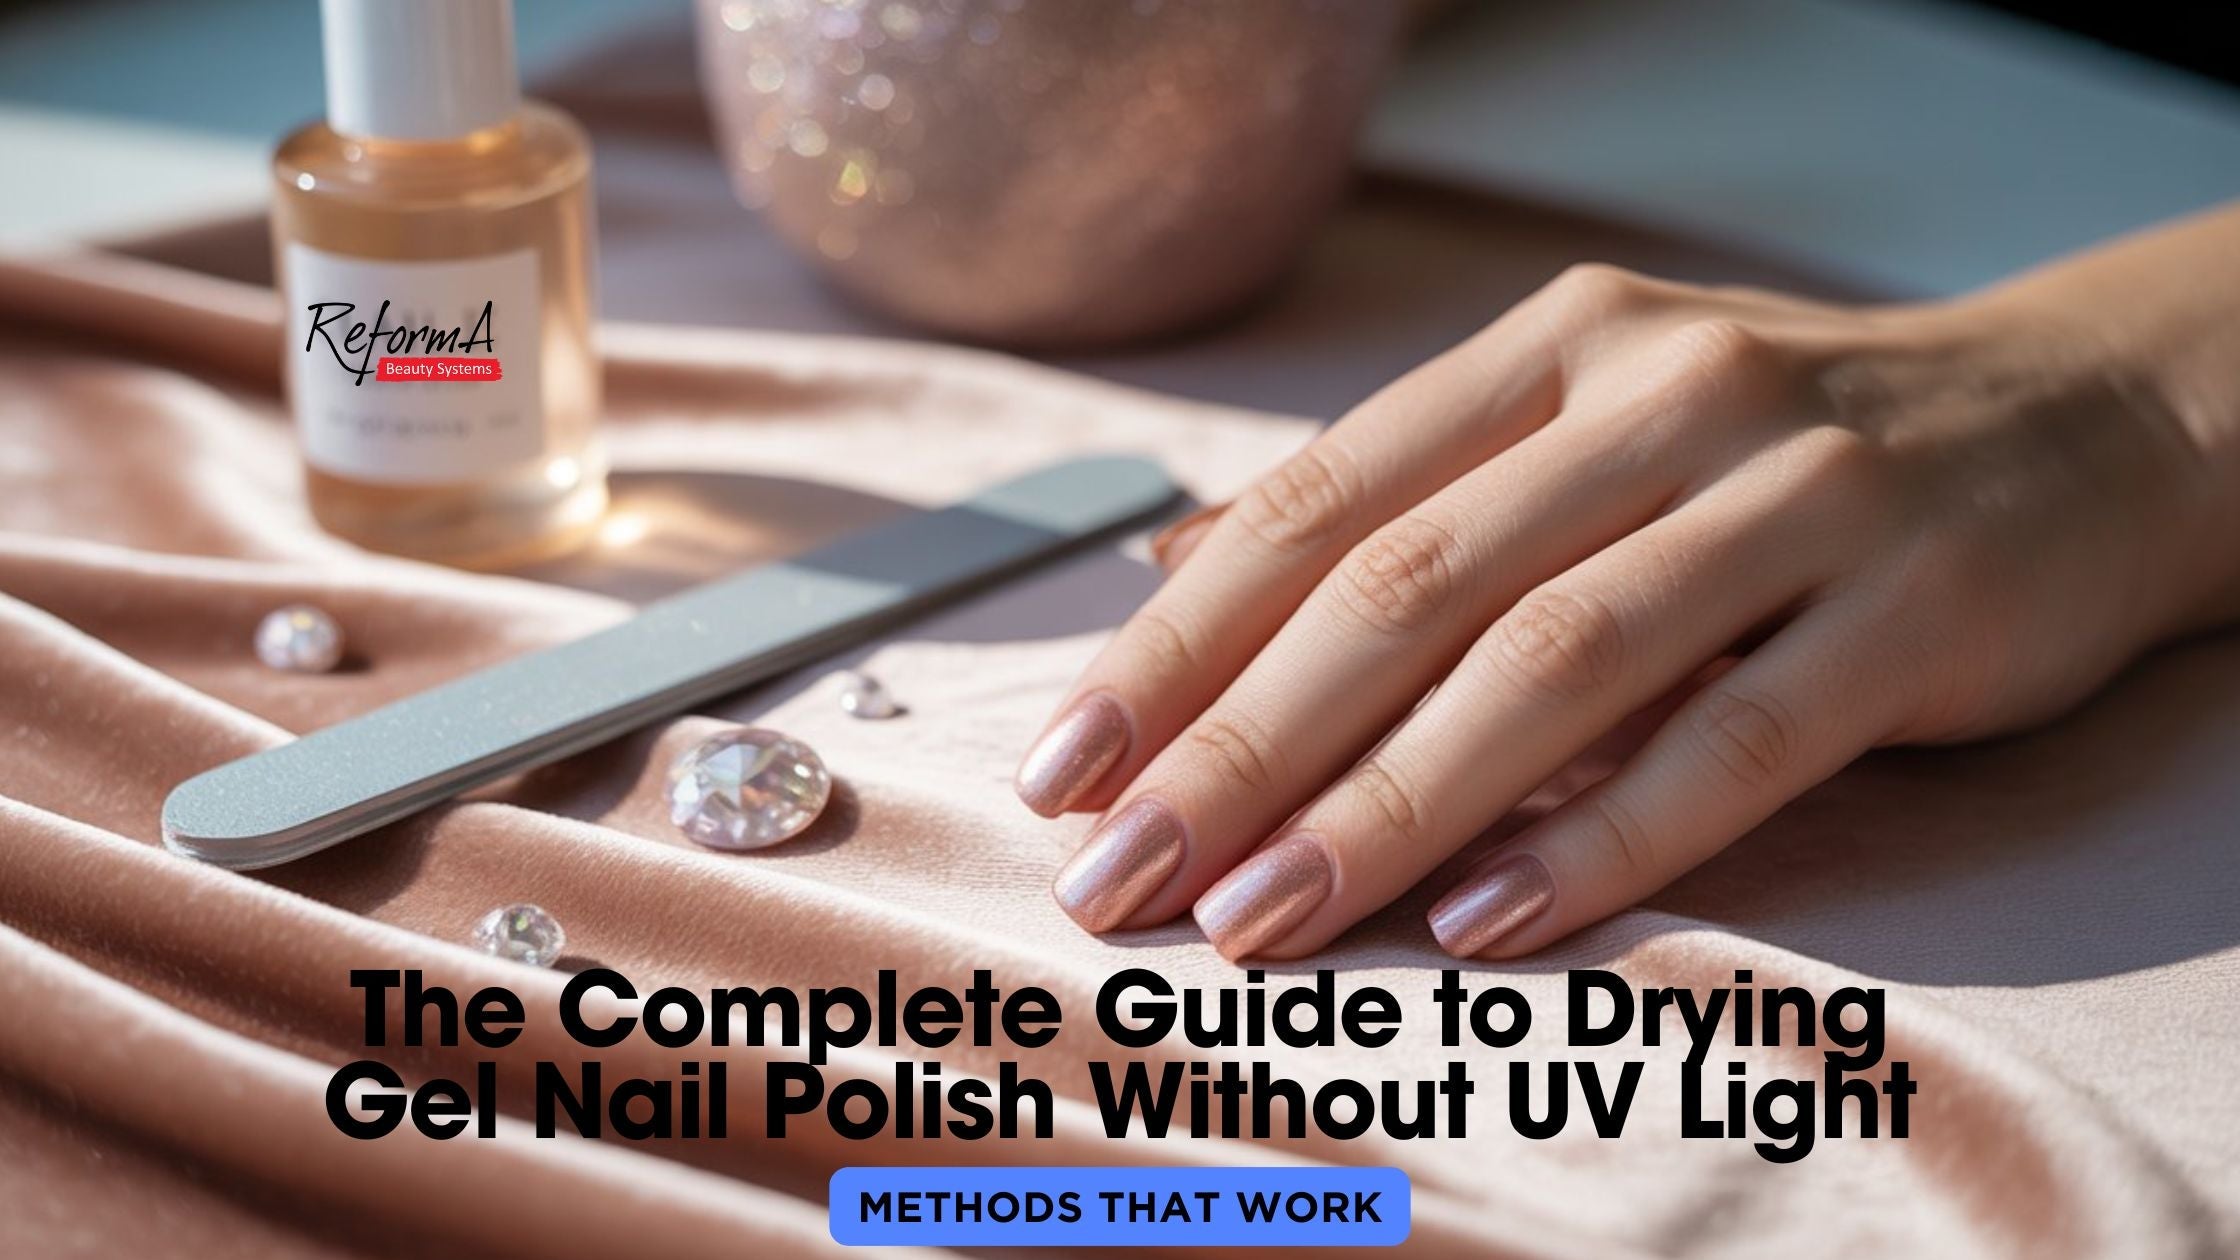
Esmalte de uñas en gel se ha ganado su reputación como la solución ideal para manicuras brillantes y duraderas. Resiste astillas, mantiene el brillo y puede mantener tus uñas impecables hasta por tres semanas. Pero hay un problema: la mayoría de los esmaltes en gel necesitan una lámpara UV o LED para curar y endurecer adecuadamente.
Si te encanta la idea de tener uñas duraderas con calidad de salón pero prefieres evitar la exposición a los rayos UV, no estás sola. Ya sea que esté evitando los rayos UV por razones de salud o simplemente no tenga una lámpara, la pregunta sigue siendo: Cómo secar el esmalte de uñas en gel sin luz ultravioleta.?
En esta guía, descubrirá métodos que funcionan, incluidas alternativas de pulido sin lámpara, técnicas de secado inteligentes y los mejores productos para respaldar sus objetivos de manicura casera. Si bien el esmalte en gel tradicional requiere luz UV o LED para curar, las nuevas fórmulas en el mercado ofrecen resultados similares, sin necesidad de lámpara.
Exploremos cómo conseguir uñas duraderas tipo gel, incluso sin equipos de alta tecnología.
Comprender los diferentes tipos de esmalte en gel
entender cómo secar el esmalte de uñas en gel Sin lámpara, es útil saber qué tipo de producto estás utilizando.
Esmalte en gel tradicional UV/LED
Este tipo de esmalte en gel contiene fotoiniciadores que reaccionan a la luz UV o LED. Sin exposición a esta luz, la fórmula no se endurecerá, sin importar cuánto espere. Entonces, si te lo estás preguntando, ¿El esmalte de uñas en gel se secará sin luz ultravioleta?? La respuesta es no, para el gel tradicional, el curado bajo una lámpara es fundamental.
Tecnología de esmalte en gel sin rayos UV
Los esmaltes más nuevos "tipo gel" o "sin lámpara" imitan la durabilidad y el brillo del gel, pero se secan naturalmente como el esmalte normal. Estos pulimentos utilizan tecnología de polímeros avanzada y, a menudo, funcionan con secado rápido. abrigos superiores o fórmulas de secado al aire.
|
Característica |
Polaco del gel ULTRAVIOLETA |
Esmalte en gel sin rayos UV |
|
Requiere luz UV/LED |
si |
No |
|
Tiempo de secado |
30-60 segundos por capa |
10-20 minutos por capa |
|
Método de eliminación |
Remojar con acetona |
removedor regular |
|
terminar |
Ultrabrillante |
Brillante o semibrillante |
|
Durabilidad |
2-3 semanas |
5 a 10 días |
Cómo identificar productos sin rayos UV
Busque términos como:
-
“No se necesitan rayos UV”
-
“Esmalte efecto gel”
-
“Acabado en gel de secado al aire”
Además, consulte las instrucciones en la etiqueta. Si no menciona el curado con lámpara, es probable que sea un esmalte tipo gel Puedes secarlo de forma natural.
Elegir el esmalte en gel sin rayos UV adecuado
Si te lo has estado preguntando, ¿Se puede secar el esmalte de uñas en gel sin luz ultravioleta?? La respuesta corta es sí, pero sólo con el tipo de producto adecuado. El esmalte en gel tradicional no se fija sin exposición a luz UV o LED. Sin embargo, los modernos esmaltes en gel sin rayos UV ofrecen una alternativa convincente que ofrece un acabado brillante y duradero sin ningún equipo especial. Elegir la adecuada marca la diferencia entre una manicura que dura unas horas y una que dura más de una semana.
¿Qué caracteriza a un buen esmalte en gel sin rayos UV?
Al comprar un esmalte tipo gel que no requiere lámpara, la lista de ingredientes es un buen punto de partida. Las fórmulas de alta calidad suelen contener polímeros acrílicos, que proporcionan estructura y resistencia, una de las características clave que distingue al gel del esmalte estándar. Las mezclas de resina contribuyen al acabado de alto brillo que da la ilusión de una manicura con calidad de salón, mientras que los formadores de película flexibles ayudan a que el esmalte se mueva con la uña natural para evitar grietas y astillas prematuras. Juntos, estos ingredientes ayudan a imitar la apariencia y la sensación del esmalte en gel tradicional, sin necesidad de curar bajo luz ultravioleta.
Expectativas realistas y tiempo de uso
Es importante establecer expectativas realistas al cambiar a fórmulas sin rayos UV. Si bien no le brindarán las 2 a 3 semanas de uso sin astillas que pueden brindar los geles curados con lámpara, muchos usuarios aún disfrutan de hasta 5 a 10 días de uso duradero y resistente a las astillas. El brillo es comparable al del esmalte en gel de salón y, lo mejor de todo, es que la eliminación es más sencilla y suave, y por lo general requiere solo unas cuantas pasadas con un quitaesmalte normal.
Entonces si, El esmalte de uñas en gel se puede secar sin luz ultravioleta., siempre y cuando utilices la fórmula correcta y sigas los pasos de aplicación correctos. Con un poco de preparación y el esmalte adecuado, podrás disfrutar de los beneficios de una manicura tipo gel sin lámpara.
Preparación esencial para una manicura duradera
Antes de preguntar, ¿Puedes usar esmalte de uñas en gel sin luz ultravioleta?? Es fundamental comprender que incluso el mejor pulidor sin lámpara no funcionará bien sin el producto adecuado. preparación de uñas. Sentar las bases para una manicura fuerte y resistente a las astillas comienza con la forma en que preparas las uñas antes de aplicar la primera capa de esmalte. Cuando se hace correctamente, la preparación no solo mejora la adherencia sino que también puede prolongar significativamente la vida útil de su manicura.
Las herramientas adecuadas marcan la diferencia
Para lograr una manicura suave y duradera, reúne algunas herramientas esenciales. Una lima de uñas y un pulidor de calidad te ayudarán a dar forma a las uñas y a crear una superficie ligeramente rugosa para un mejor agarre. Un empujador de cutículas garantiza un borde limpio donde el esmalte se puede adherir de forma más segura. También es importante tener un limpiador a mano (ya sea un limpiador de uñas a base de alcohol o acetona funciona bien) para limpiar a fondo la superficie de la uña. Termine su kit de herramientas con toallitas sin pelusa para evitar fibras perdidas y una base y una capa superior confiables para fijar todo en su lugar.
Preparación de uñas: paso a paso
Comience asegurándose de que sus uñas estén completamente limpias y libres de esmalte viejo. Límalos y dales forma al largo y estilo deseados, luego empuja suavemente las cutículas hacia atrás. Esto ayuda a que el esmalte se aplique suavemente y reduce el riesgo de que se levante prematuramente. Después de darle forma, pule ligeramente la superficie de cada uña para eliminar el brillo restante. Este paso mejora la adherencia del esmalte. Finalmente, limpia cada uña con un poco de alcohol o limpiador de uñas para eliminar cualquier aceite, polvo o humedad que pueda interferir con la adhesión del esmalte.
Un consejo crucial antes de comenzar
Uno de los errores más comunes en la manicura casera es aplicar loción o aceite para cutículas demasiado pronto. Si bien la hidratación es excelente después de la manicura, el uso de estos productos con anticipación puede dejar un residuo resbaladizo en las uñas. Esto puede comprometer seriamente la eficacia del secado del esmalte, especialmente si no utilizas la lámpara UV. Al tratar de descubrir ¿Cuánto tiempo se tarda en secar el esmalte de uñas en gel sin luz ultravioleta?, recuerda que una correcta preparación es tan importante como la propia técnica de secado. Las uñas limpias, secas y sin aceite le dan a su esmalte en gel sin rayos UV la mejor oportunidad posible de secarse rápidamente y durar más.
Método 1: esmalte en gel sin rayos UV de secado al aire
si, Puedes usar esmalte de uñas en gel sin luz ultravioleta.—si es una fórmula que no sea UV.
Cómo funciona
Estos pulimentos se endurecen por evaporación, no por reacción UV. Es más lento pero efectivo.
Mejores prácticas
-
Aplicar abrigos finos—Las capas más gruesas no se secarán de manera uniforme.
-
Espere al menos 10 minutos entre capas.
-
Utilice una capa superior de alta calidad para sellar todo.
Expectativas de tiempo
preguntándose ¿Cuánto tiempo se tarda en secar el esmalte de uñas en gel sin luz ultravioleta?? Por lo general, cada capa se seca en 10 a 20 minutos. El fraguado completo puede tardar entre 1 y 2 horas, así que planifique el tiempo de inactividad en consecuencia.
Método 2: técnica de pulverización de secado rápido
Los aerosoles de secado rápido cambian las reglas del juego cuando se trabaja con fórmulas sin lámpara.
Cómo funciona
Estos aerosoles contienen solventes que se evaporan rápidamente, acelerando el proceso de secado.
Pasos de la solicitud
-
Aplica el esmalte como de costumbre.
-
Espere de 1 a 2 minutos.
-
Sostenga el aerosol a una distancia de 6 a 8 pulgadas de las uñas.
-
Rocíe ligeramente y déjelo reposar.
Los mejores aerosoles para probar
-
INM por la puerta
-
OPI RapidDry
Este método ayuda a reducir las manchas y acorta el tiempo total de secado entre un 30% y un 50%.
Método 3: método del baño de hielo
Si es escéptico acerca de si El esmalte de uñas en gel se puede secar sin luz ultravioleta., este divertido truco podría sorprenderte.
Por qué funciona
El aire frío y el agua hacen que el esmalte se endurezca más rápido al acelerar la evaporación de los solventes.
Pasos
-
Llena un recipiente con agua fría y hielo.
-
Espere 2 minutos después de aplicar el esmalte.
-
Sumerja los dedos durante 3 a 5 minutos.
-
Seque suavemente, ¡no frote!
Precaución
Esto no curará completamente las capas gruesas ni el verdadero esmalte en gel, pero funciona bien para fórmulas tipo gel.
Método 4: Método de ajuste en frío del secador de pelo
¿Sin spray? ¿Sin hielo? ¡Prueba tu secador de pelo!
Cómo hacerlo
-
Utilice el solo ambiente fresco—El calor puede hacer burbujas en el esmalte.
-
Mantenga la secadora a una distancia de 6 a 8 pulgadas.
-
Muévalo durante 2 a 3 minutos con cada mano.
Beneficios
-
Acelera el tiempo de secado
-
Ayuda a que el esmalte se reafirme uniformemente.
No es un sustituto completo del curado, pero sí un buen complemento al secado natural al aire.
Método 5: usar una capa superior para mejorar el ajuste
Las capas superiores ayudan a “fijar” la manicura y reducen significativamente el tiempo de secado.
Mejores tipos
Busque:
-
Capas superiores de secado rápido
-
Top coats efecto gel
-
Fórmulas sin rayos UV
Consejos de aplicación
-
Deje reposar el esmalte de color durante unos minutos antes de aplicar la capa superior.
-
Aplicar en una capa fina y uniforme.
-
Vuelva a aplicar cada 2 o 3 días para renovar el brillo y la durabilidad.
Mejores selecciones
-
Seche Vite
-
Capa superior Insta-Dri de Sally Hansen
Mantenimiento de su manicura en gel sin rayos UV
Secar el esmalte con éxito es un gran comienzo, pero mantener la manicura fresca requiere un poco de cuidado constante. Los esmaltes en gel sin rayos UV ofrecen resultados impresionantes, pero aún así se benefician de un mantenimiento cuidadoso para evitar que se descascarillen y preserven el brillo. Con los hábitos adecuados, tu manicura puede durar mucho más de unos pocos días y seguir luciendo limpia y pulida en todo momento.
Hábitos diarios inteligentes para un uso más prolongado
Tu rutina diaria tiene un gran impacto en la vida útil de tu manicura. Una de las medidas más simples y efectivas que puede tomar es usar guantes mientras lava los platos o limpia. La exposición al agua y a productos de limpieza fuertes puede descomponer el esmalte más rápidamente, especialmente en las puntas. Incluso sin un contacto constante, los detergentes y jabones pueden opacar el acabado o provocar un levantamiento prematuro.
Una vez que la manicura se haya secado por completo, la aplicación diaria de aceite para cutículas puede marcar una gran diferencia. Si bien puede parecer no tener relación, las cutículas hidratadas ayudan a prevenir el agrietamiento y la descamación alrededor de los bordes del esmalte, lo que a menudo provoca astillas prematuras. Solo asegúrese de aplicar aceite solo después de que el esmalte se haya endurecido por completo para evitar interferir con la adhesión desde el principio.
Técnicas de retoque que funcionan
Incluso con la mejor preparación y un uso cuidadoso, pueden aparecer pequeñas astillas, especialmente en el borde libre de la uña. Afortunadamente, la mayoría de los esmaltes en gel sin rayos UV son fáciles de arreglar. Si nota una pequeña astilla, aplique una pequeña cantidad del mismo esmalte directamente sobre el área afectada y luego séllela con una nueva capa de capa superior. Déjelo secar completamente para mezclarlo perfectamente.
Con el tiempo, el brillo intenso que hace que el esmalte en gel sea tan atractivo puede comenzar a desvanecerse. Para revivir tu manicura sin empezar de nuevo, simplemente aplica una nueva capa de top coat. Esto no solo refrescará el brillo, sino que también agregará una capa adicional de protección para evitar un mayor desgaste.
Saber cuándo es el momento de eliminar
Con el tiempo, es necesario eliminar incluso la manicura más cuidada. Si el esmalte comienza a levantarse, pelarse o separarse de la placa de la uña, es mejor quitarlo limpiamente que pelarlo, lo que puede dañar las uñas naturales. El proceso de eliminación es sencillo: empape un algodón con quitaesmalte, colóquelo sobre la uña, envuélvalo con papel de aluminio y déjelo reposar durante cinco a diez minutos. Después, el esmalte debería desprenderse fácilmente sin raspar.
Si sigue algunas rutinas inteligentes y sabe cómo manejar pequeñas imperfecciones, puede prolongar la vida útil de su manicura en gel sin rayos UV y mantener sus uñas con un aspecto fresco de salón con un mínimo esfuerzo.
Comparación de resultados: métodos UV versus no UV
Brillo y textura
-
UV: similar al vidrio, ultrabrillante
-
Sin UV: Ligeramente menos brillante pero aún atractivo
Tiempo de uso
-
UV: 14 a 21 días
-
Sin rayos UV: 5 a 10 días
Costo y conveniencia
-
UV: Requiere inversión en lámpara y productos especiales
-
Sin UV: más accesible y apto para principiantes
Mejor para
-
rayos ultravioleta: Eventos especiales, vacaciones.
-
No UV: Uso diario, piel sensible o bricolaje rápido
Conclusión
Entonces, ¿El esmalte de uñas en gel se seca sin luz ultravioleta?? nosotros, en ReformA Creo que el gel tradicional no, pero tienes muchas alternativas. Ya sea que intentes evitar la exposición a los rayos UV o simplemente no tengas una lámpara, el esmalte en gel sin rayos UV y las técnicas de secado inteligentes pueden brindarte resultados hermosos y duraderos.
Desde aerosoles de secado al aire y de secado rápido hasta trucos creativos como el método del baño de hielo, ahora sabes exactamente cómo secar el esmalte de uñas en gel sin luz ultravioleta y hacerlo bien.

